Fleece and quilt sandwiches vary in construction, loft, thickness, and stretch. Profile the fabric layers, batting, seams, stabilizer, and stitch task before choosing a needle or foot. A material name or quilting foot does not tell you how much thickness a particular domestic machine can feed.
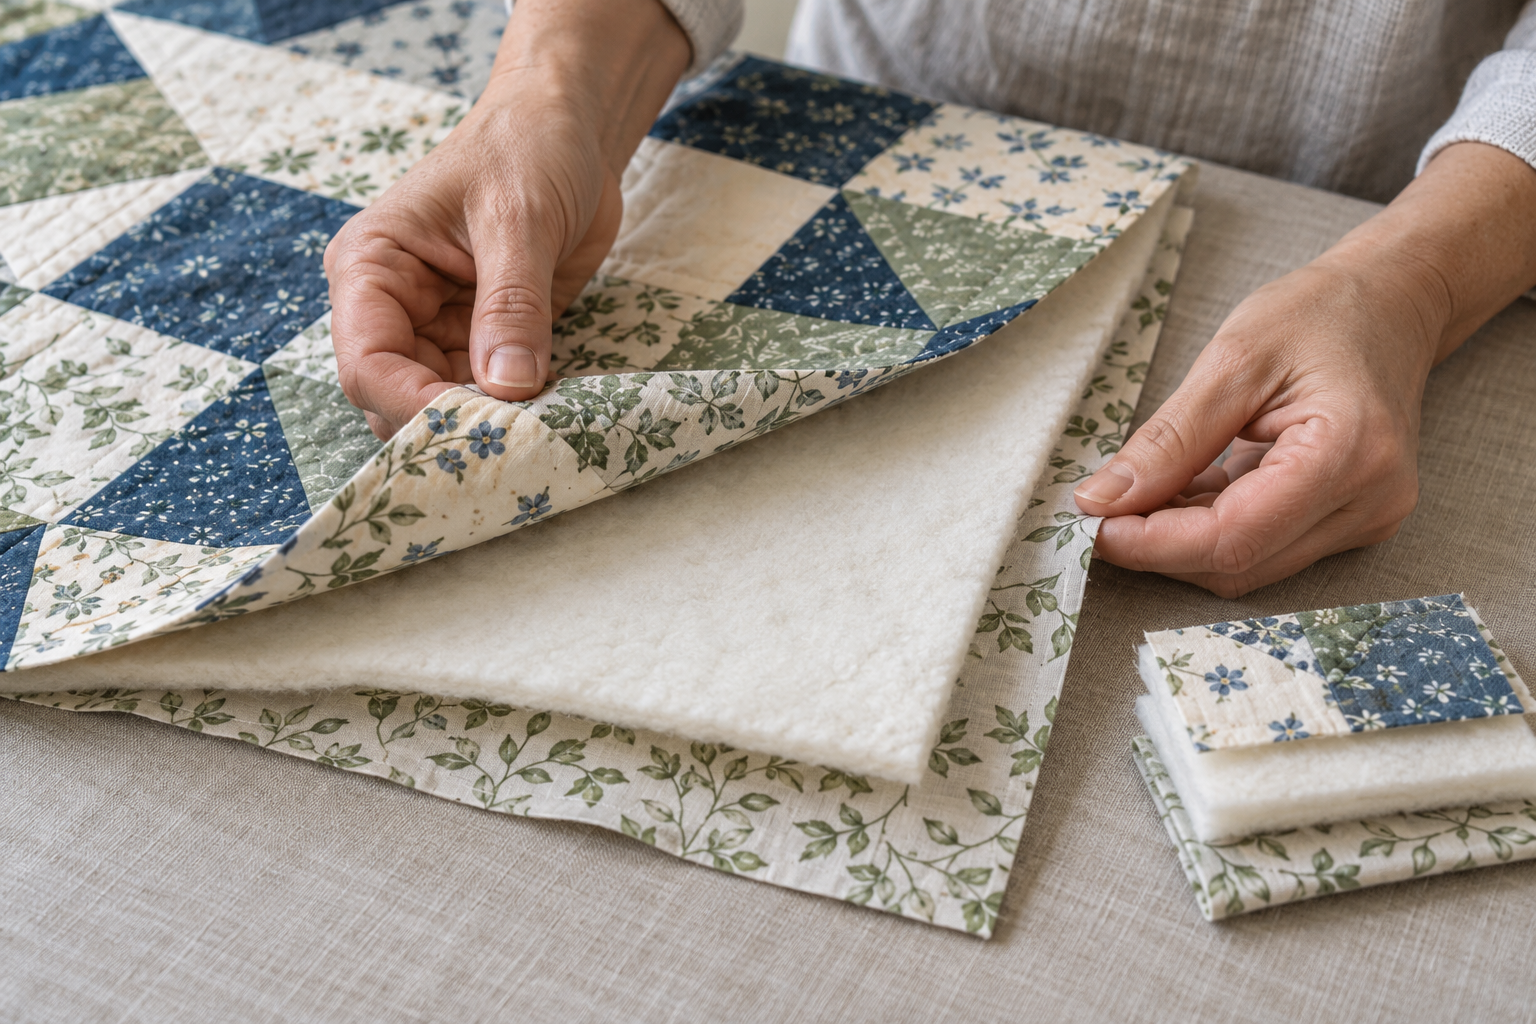
Profile the top, batting, and backing as separate parts of the actual stack.
Build a sample of the whole sandwich#
For a garment seam, test the same fleece and seam allowance as the project. For quilting, include the actual top, batting, backing, basting method, and any seam intersections. Support the weight of the project on a stable surface and let the machine’s feed move the layers; do not pull or push the sandwich at the needle.
Check that the needle can enter the sample without deflecting and that the foot moves over the thickest seam. Sew a short section and inspect for skipped stitches, puckering, shifting, or uneven feeding. A flat sample is not enough if the project also contains a thick crossing seam or binding.
Check the batting product before quilting#
Read the exact batting label and instructions before building the sandwich. Record its construction or bonding, any side-orientation guidance, maximum quilting-line spacing, preparation, and finished-item care. Prepare the top, batting, and backing according to their own instructions; one component’s care directions do not automatically cover the others.
Two manufacturer examples show why the product name matters:
| Named batting | Manufacturer’s quilting-line guidance | Product-specific note |
|---|---|---|
| Warm & Natural | Quilt or tie up to 10 inches apart | The maker says prewashing is not needed and gives orientation guidance for its scrim side. |
| Hobbs Heirloom Premium 80/20 Cotton/Poly Blend | Quilt every 4 inches or closer | Hobbs recommends testing how the batting needles and launders; prewashing is not recommended. |
These directions apply to the named products, not to all cotton or 80/20 batting. Quilting-line spacing is the distance between quilting rows; it is separate from a sewing machine’s stitch length and does not establish needle clearance or quilt-sandwich capacity. Check current instructions for the exact product and market.
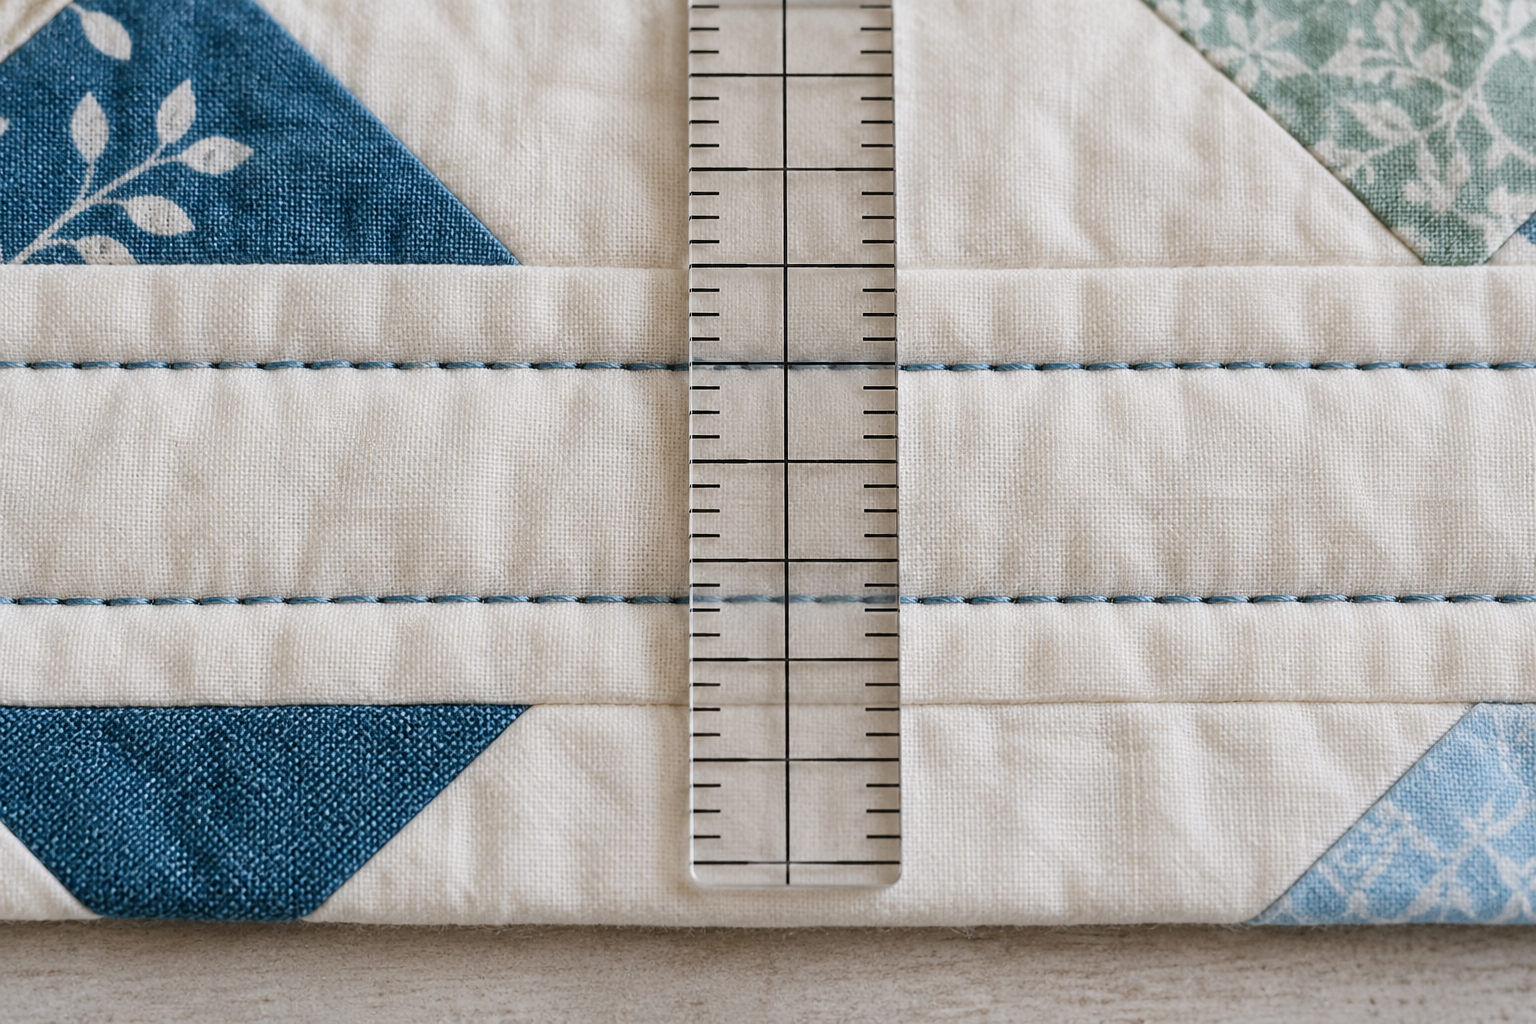
Quilting-line spacing measures the distance between rows, not the machine’s stitch length.
If a batting is fusible, check the instructions for that exact variant and the heat tolerance of every quilt layer. This guide does not prescribe a fusing method; garment interfacing is a separate support choice.
Choose a needle from construction and batting weight#
Needle charts give starting examples. SCHMETZ lists Universal 70/10–90/14 or Stretch 75/11–90/14 for fleece, depending on its construction. For batting, its fabric index gives Quilting 75/11 for lightweight fabric and 90/14 for heavier fabric; those labels do not define a numeric loft threshold. Choose the needle system and size for the actual layers, thread, and machine manual. Replace a bent or blunt needle before testing again.
Keep quilting feed methods separate#
A walking foot and a free-motion or darning foot use different instructions. Brother’s optional walking-foot procedure says to baste the quilt first, guides the work evenly, limits that foot to straight or zigzag stitches, excludes reverse stitching, and recommends slow-to-medium speed. Its covered-model list includes CS7000X, but fit and availability must still be checked for the exact model and region.
Brother’s SA129 guidance describes a different free-motion setup on its covered models: lower the feed dogs, select straight stitch, hold the fabric with both hands, and move it at an even pace. Do not transfer that feed-dog instruction to a walking foot. Before installing any foot, power off and follow the exact manual; turn the handwheel by hand to check needle clearance before sewing.
Neither procedure gives a universal batting loft or quilt-sandwich capacity. If the machine cannot feed the matched sample smoothly, the needle bends or strikes, or the foot cannot move freely, stop. Reduce bulk or use a machine and attachment that the manufacturer confirms for the project.
Record a repeatable quilt setup#
Write down the machine model, top and backing fabrics, batting type and loft, number of layers, basting method, needle, thread, foot, feed-dog state, stitch, and sample result. This makes a successful setup specific enough to repeat without turning it into a promise for another quilt or machine.
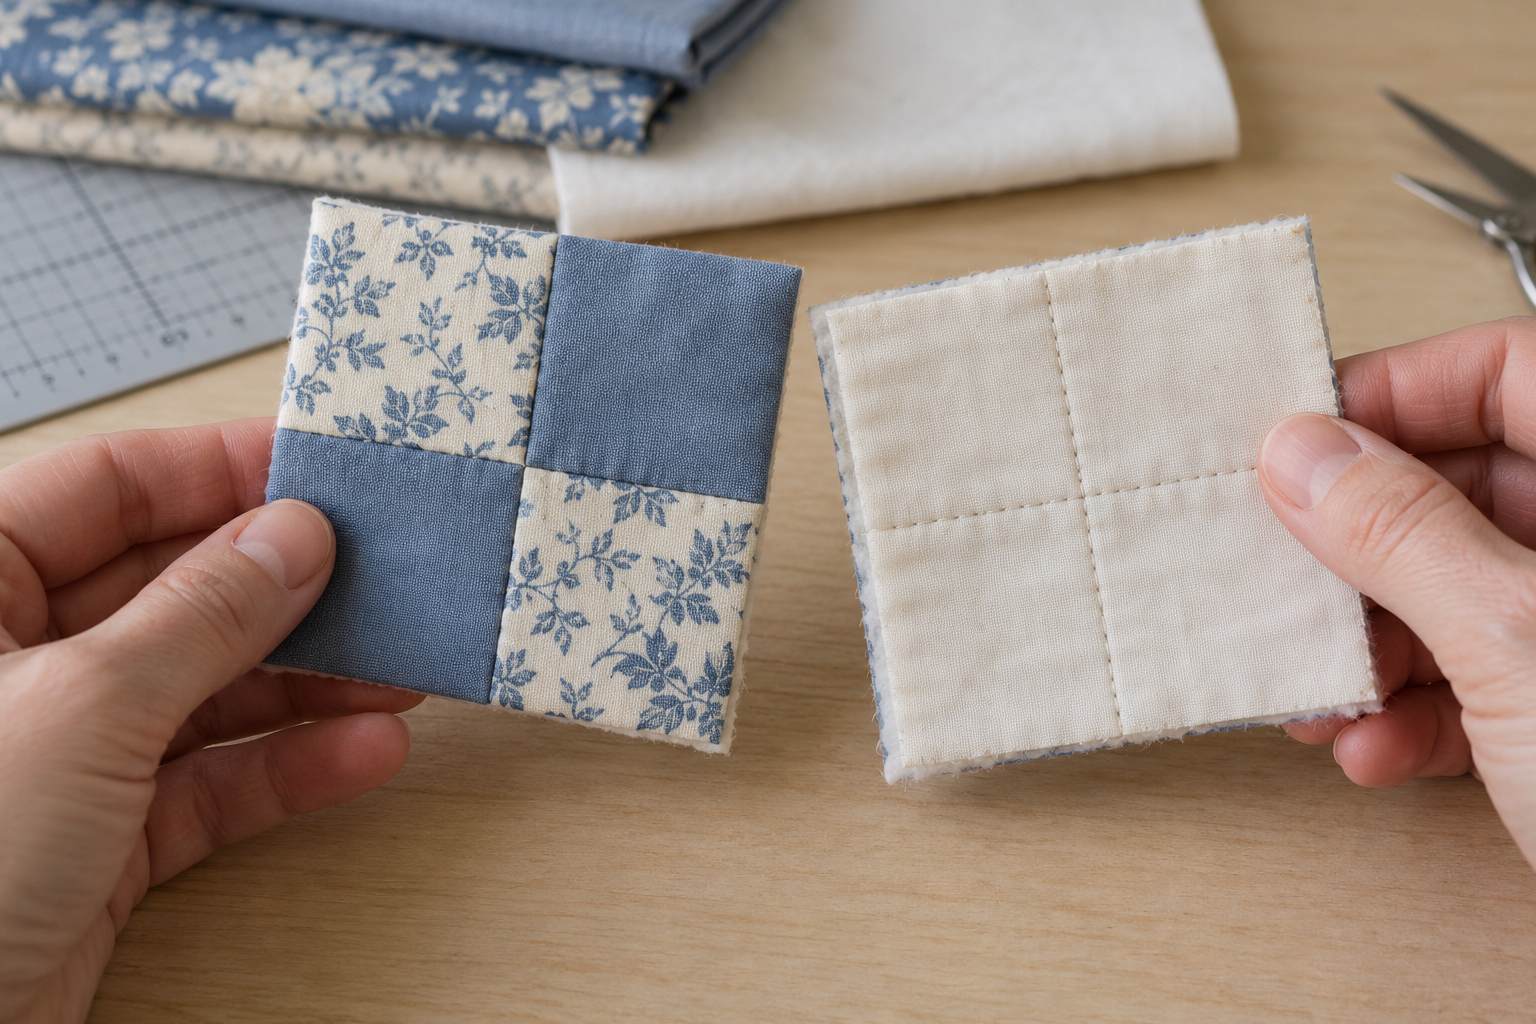
Inspect both faces of a sample for stitch formation and feeding before starting the larger quilt.
For a plush knit-pile backing, compare the pile-fabric sewing guide and test the complete sandwich.