A split seam does not always need the same repair. First inspect the cloth and the seam allowance: stitching may have opened while the fabric is intact, the fabric may have torn, or strain may have opened the seam because the garment is tight or the original seam does not stretch with the material.
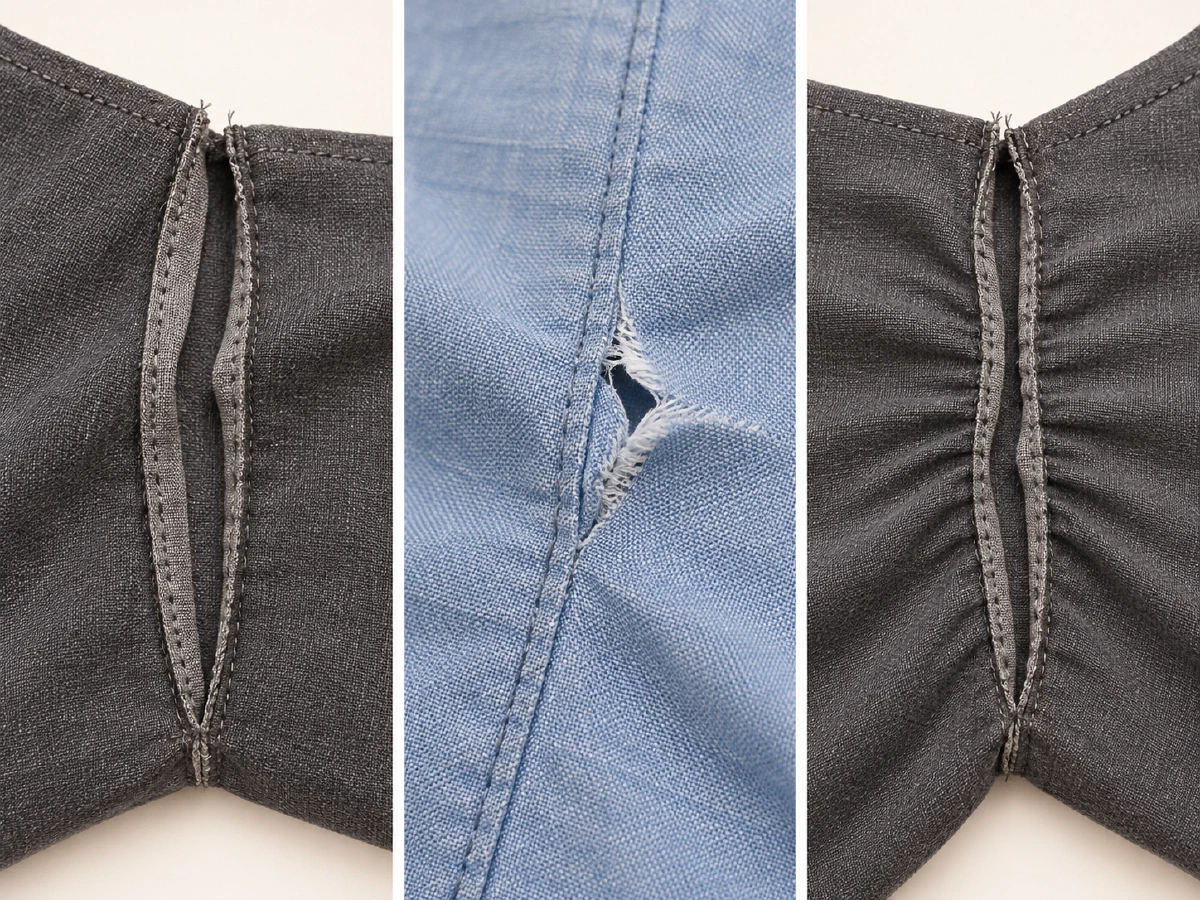
Identify what failed#
Turn the garment inside out and examine the full damaged area. If the fabric and allowance are intact, remove loose threads and determine the original seam line. If the cloth itself is torn or frayed through the allowance, a simple restitch may miss the damaged area; the repair may need support or a different method. If there are strain marks or the seam repeatedly opens during movement, check the fit and whether the seam needs more ease or stretch.
The University of Tennessee Extension’s mending guide advises checking the cause before sewing. Its example overlaps the existing seam by about 1/2 inch at each end, with an optional second line roughly 1/8 inch inside the allowance. These are not universal repair specifications.
Restitch only when the cloth can support it#
For intact woven fabric, align the original seam and stitch over the sound seam line, extending into secure stitching at each end. Use the machine’s manual to choose a compatible needle, thread, and stitch. For a knit or stretch seam, select a stitch permitted by the machine that can retain the garment’s needed give; test on matching scrap if available. Do not pull the fabric behind the presser foot.
Inspect the repair from both sides and move the garment gently as it will be worn. If fabric is missing, the damaged area carries high strain, or the split returns, seek a repair method suited to the material and fit rather than repeatedly sewing over weak cloth. No load or durability test is claimed here.
For ordinary stitch selection, see the seam-family guide; for elastic tape or knit hems, see the separate stretch-hem guide.