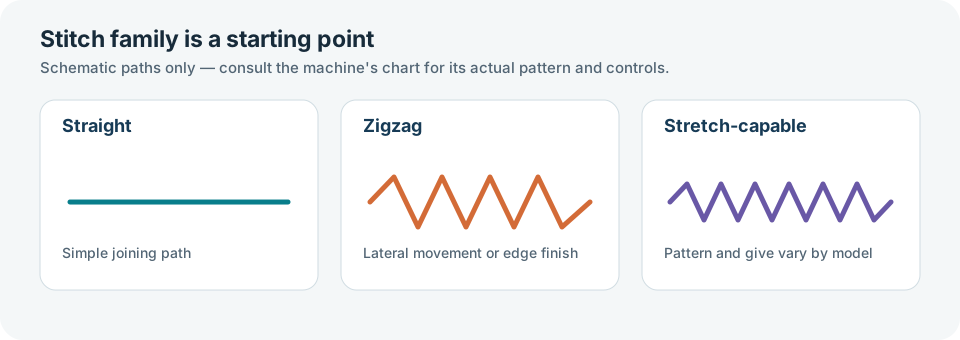
Choose a stitch by asking two questions: does the seam need to stretch with the fabric, and does the edge need to be controlled or finished? A straight stitch is a common starting point for a stable woven seam. Zigzag can span the seam laterally or finish an edge. A stretch or other knit stitch may suit a seam that must move with an elastic fabric, but its name, pattern, and controls vary by machine. Check the manual before selecting a number or assuming two brands mean the same thing.
Choose the stitch family first#
| Seam condition | Starting direction | What to verify |
|---|---|---|
| Stable woven fabric with little give | Straight stitch | The manual’s stitch and length guidance for the fabric and layers |
| Edge finishing or a seam needing lateral movement | Zigzag | Width, length, needle position, and foot clearance |
| Knit or elastic fabric where the seam must retain give | A documented stretch-capable stitch | The exact model’s available stitch, needle, and test result |
These are selection cues, not guaranteed recipes. Fabric construction, stretch and recovery, layer count, seam purpose, needle, thread, and machine condition all affect the result. If a project uses a pattern or manufacturer procedure, start with its instructions and test a sample cut from the same fabric.
Set the controls and test#
Stitch length and width change the sewn result. Brother’s guidance for the models covered by its support answer describes length as making a stitch coarser or finer and width as making a zigzag wider or narrower. After a width change, Brother directs users to turn the handwheel slowly and check that the needle clears the presser foot. It also advises increasing length when stitches bunch together. Use those instructions only where the exact machine is covered; consult another model’s manual for its controls.
Test on the actual fabric and layer stack. Sew far enough to check the seam from both sides, then adjust one setting at a time. If the needle approaches the foot or plate, stop and recheck the selected stitch, width, needle position, and attachment by hand. Do not continue sewing through a suspected contact point.
Match the needle and reinforce deliberately#
SCHMETZ describes Jersey or ball-point needles for knits and some stretch fabrics, and Stretch needles for elastic materials and highly elastic knitwear. Its guide recommends choosing needle size according to thread thickness and needle type according to fabric application. Confirm that the needle system and size are approved for the machine.
Seam reinforcement is also model-dependent. Brother distinguishes reverse stitching from reinforcement stitching: some covered machines make several overlapping stitches for certain patterns. Check the stitch chart before assuming a pattern reverses, reinforces automatically, or uses the same control as another model.
Piece a seam or add a decorative bridge#
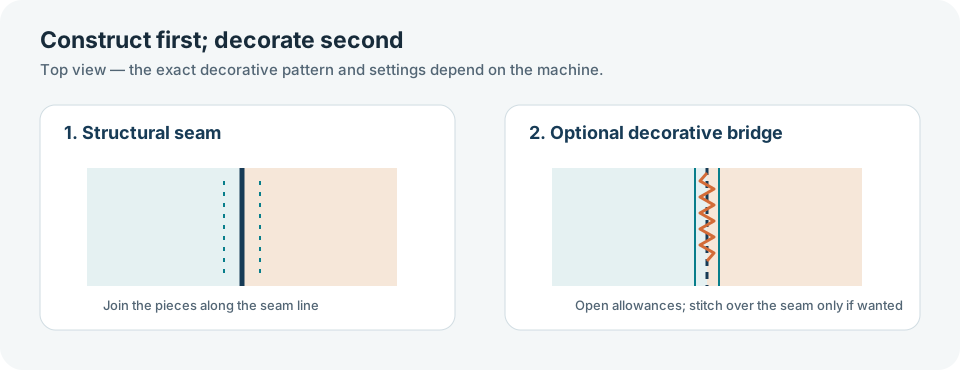
For a piecing seam, follow the allowance method in the exact machine’s guide. For example, Brother’s CS7000X Sewing Guide shows a 6.5 mm (1/4 in) allowance with presser foot J. Use the guide’s seam markings and the model’s charted stitch, then measure a sample before sewing the project; this example does not establish foot fit or allowance marks for other machines.
A decorative stitch crossing an existing seam is a separate finishing pass. Brother’s CS7000X guide shows constructing the seam first, pressing the allowances open, and then sewing the decorative bridge over the seam. Select the pattern and any balance adjustment from the exact model’s guide and chart. The decorative pass does not replace the structural seam or make it stronger by itself.
For pocket-opening reinforcement, see the CS7000X bar-tack setup. For elastic attachment and knit hems, see the stretch-hem setup guide. For visible heavy-fabric seams, see the denim topstitching guide.