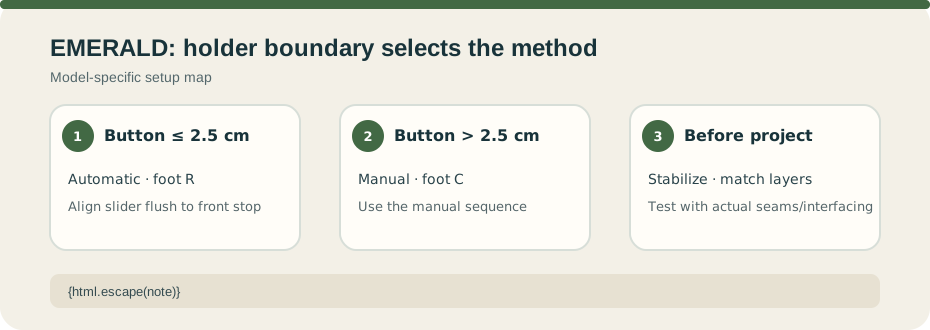
The shared English EMERALD guide covers models 116, 118, and 122. Match your machine and edition before following a foot or lever sequence. The automatic holder in buttonhole foot R accepts buttons up to 2.5 cm (1 inch) in diameter. For a larger button, the guide directs the user to its manual buttonhole method with foot C. It does not state a maximum manual buttonhole size. See the official HUSQVARNA VIKING EMERALD 116/118/122 User’s Guide.
Automatic method: foot R#
Attach foot R, secure the button in its holder, lower the buttonhole lever fully, and align the slider with the front stop so there is no gap. The guide says a gap can make the two columns unequal. Its automatic setup lists width 4–5 and tension 3–5; set stitch length within the marked buttonhole range to change density. Test a sample that duplicates the garment’s fabric, interfacing, and seams, and use stabilizer under all fabric.
Manual method: foot C#
For a button larger than the holder limit, attach foot C and follow the guide’s manual sequence: lower the lever fully, place both thread tails to the left, position the needle at the start, sew the front bar tack and left column, pull the lever toward you, then sew the back bar tack and right column. Raise the lever fully when done. The guide sends manual-method settings to its Sewing Guide Reference Chart; no universal width or density is inferred here.
Follow the diagrams for exact placement, and test the real materials before the garment. Stop if the lever or foot does not match the guide. The size threshold is specific to this model family; do not transfer BERNINA sensor lengths or SINGER 4423 dial values.