A rib-knit band can finish a neck or armhole, but the band and garment edge must feed together without waves. The BERNINA artista manual gives a bounded example for knit ribbing. Follow the manual linked here for the exact machine, foot, and stitch; the procedure is not a universal ribbing ratio.
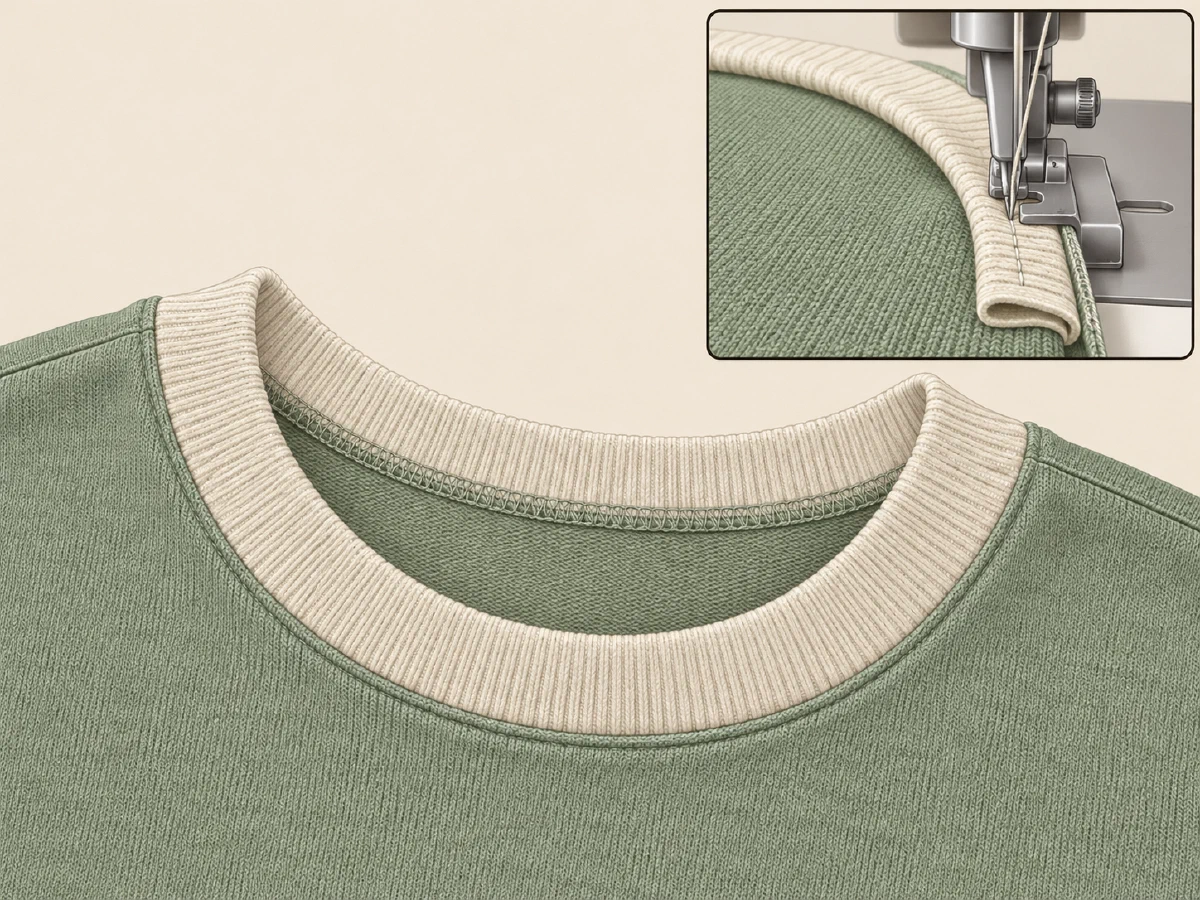
Prepare the band and opening#
The artista 630 manual’s example covers fine cotton, synthetic, and blended-fiber knits. It calls for a ribbing strip twice the finished band width plus twice the seam allowance. Fold the strip lengthwise and mark the opening and band at matching points so the shorter band can be distributed evenly. Check the pattern and actual fabric before cutting; the manual’s ratio is not universal.
Pin or baste the folded band to the opening with right sides together and the front edges aligned. Place the raw edges against the guide pin of Overlock Foot No. 2. Use the manual’s stitch/feed arrangement, a knit-suited needle, and compatible thread; confirm fit and clearance before substituting a foot.
Sew a test before the garment#
The manual demonstrates Vari-Overlock Stitch No. 3 with Overlock Foot No. 2 and the feed engaged. Sew a sample using the same knit layers, checking that the needle clears the foot and that the overedge catches both raw edges. The manual suggests slightly shortening the band to reduce waviness; it does not give a universal shortening amount. Avoid pulling the garment edge to force it to match.
At a curve, stop with the needle down and pivot as the manual directs. Inspect the sample for waviness, tunneling, skipped stitches, or a stretched opening. If it waves, recheck the pattern and band length, then repeat the sample. Stop if the needle nears the foot or the machine struggles.
For elastic tape or elastic-thread shirring, see the stretch-hem guide and Brother shirring guide.