On the U.S. Brother CS7000X, elastic-thread shirring uses elastic thread in the bobbin and ordinary sewing thread in the top. The gathered result depends on fabric, elastic, and settings, so make a sample first. This is a model-specific method, not a general bobbin-thread recipe.
Prepare the elastic thread#
Brother’s procedure calls for winding elastic thread slowly and evenly by hand. Do not stretch it while winding or fill the bobbin completely. Thread the machine’s upper path with regular thread, then insert and thread the elastic-wound bobbin as directed in the CS7000X manual.
Use a straight stitch with the needle in the left position, the longest stitch length, and high upper tension, following Brother’s listed setup. This tension instruction is specific to shirring.
Sew, gather, and secure#
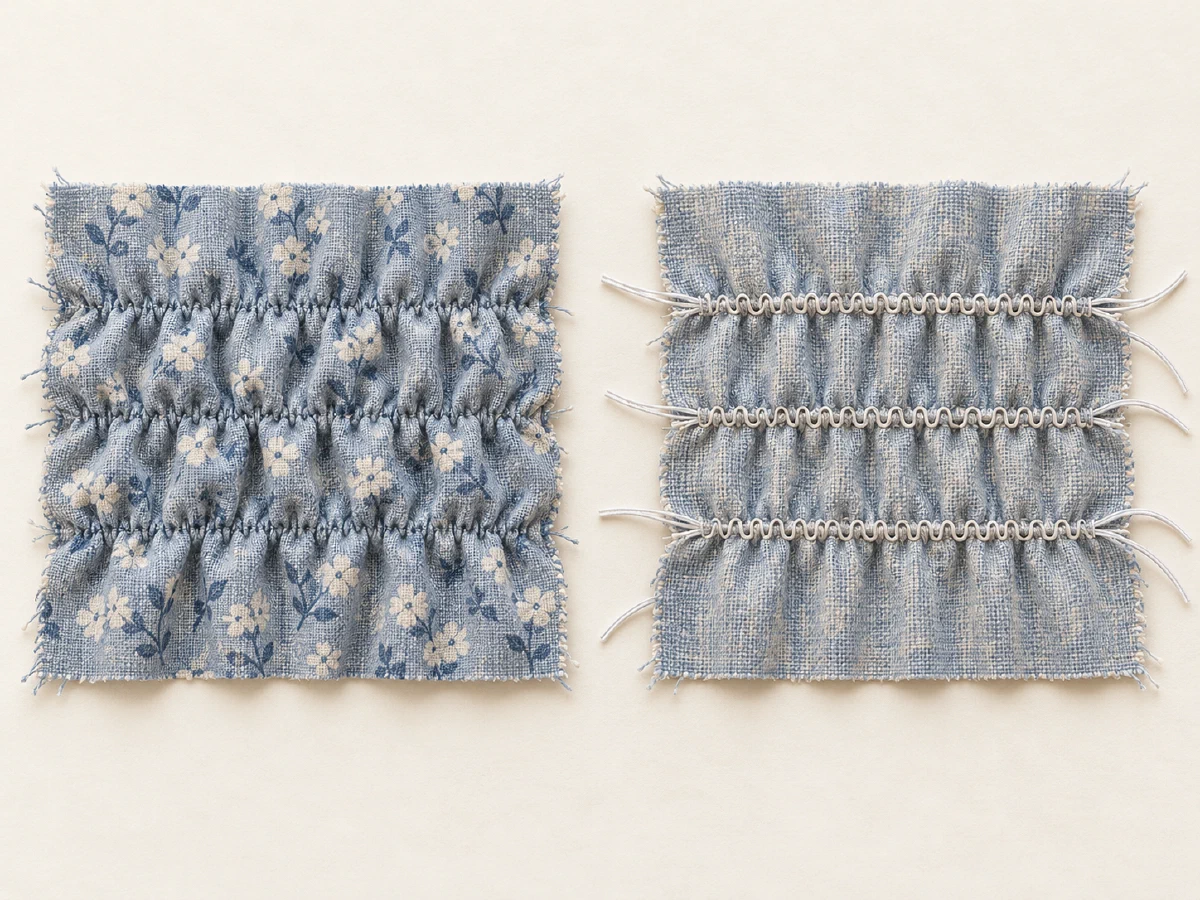
Bring the elastic thread to the top by turning the handwheel toward you as the machine manual directs. Sew a short sample row without stretching or smoothing the fabric. Leave thread tails at both ends. After each row, pull the upper and elastic threads to the reverse and tie them together; do not backstitch over the elastic rows.
Check whether the sample gathers as intended and whether the cloth still lies comfortably when stretched. Fabric and elastic differences can change the amount of contraction. Brother notes that steam may add shrinkage; test that effect on a sample and follow the garment fabric’s care limits before steaming the finished piece. Do not rely on a percentage of shrinkage or expect identical results from another fabric.
If stitches skip, thread snarls, or the machine resists, stop and rethread according to the manual. For a conventional stretch seam or knit hem, use the separate elastic and stretch-hem guide; this shirring setup is a different operation.