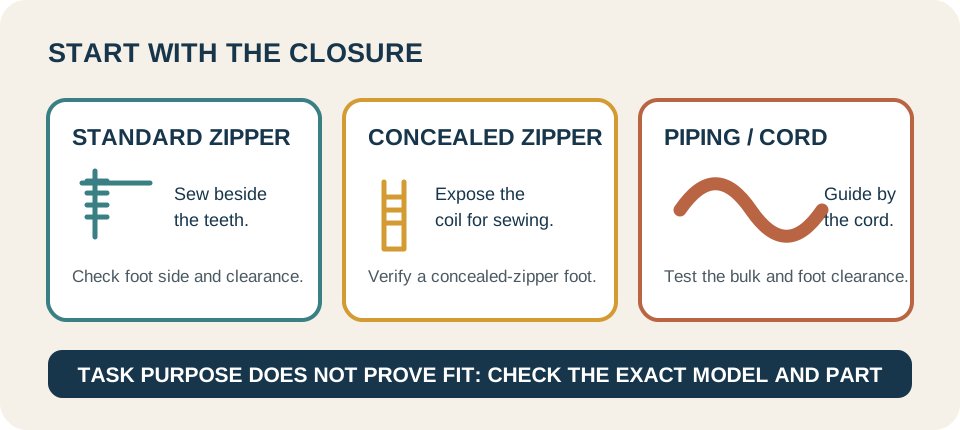
Before sewing, identify whether the task uses a standard zipper, an invisible zipper, or piping. The foot must create room to sew beside the zipper teeth or guide the fabric near the cord. A foot’s name does not prove it fits your machine: part number, attachment, shank, needle position, width, market, and clearance all matter.
Choose the foot for the task#
Janome’s product pages distinguish its standard zipper foot from a separate concealed-zipper foot intended for invisible zippers. Its current front-load Zipper Foot E listing associates part 940290000 with model 2212. That is a specific product and model relationship, not a promise that a similarly named foot fits another model or that every market includes it.
Piping adds cord bulk. Brother describes the SA161 as an adjustable zipper and piping foot whose position can be moved to the edge of the zipper or piping; use it only when the exact model and attachment are listed. See the Brother foot setup for its model-specific clearance steps.
Prepare and test#
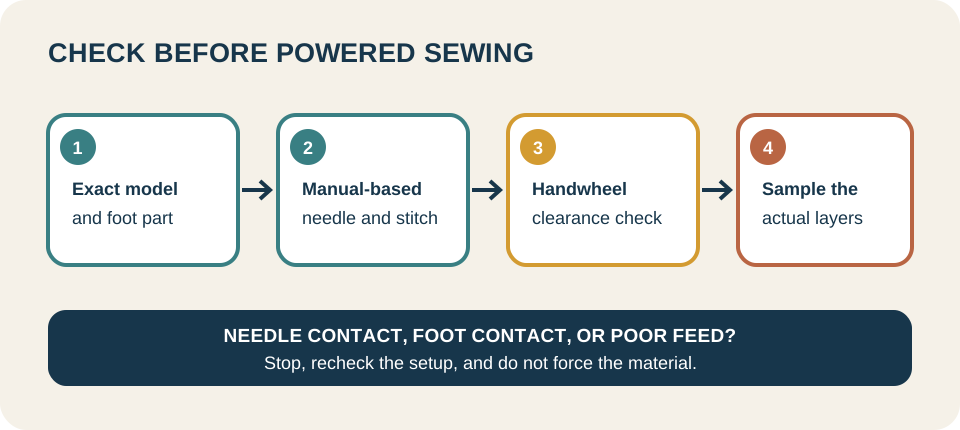
- Check the machine manual and the foot’s model/part-number information.
- Match the needle, thread, straight stitch, and any needle position to that manual and the fabric.
- Baste or pin the closure as appropriate, then test on a scrap with the same zipper or cord and fabric layers.
- Turn the handwheel by hand to check needle clearance before powered sewing.
- Sew slowly enough to keep the fabric edge and foot guide aligned. Stop if the needle approaches the foot, plate, zipper teeth, or piping hardware.
Brother’s standard zipper-foot procedure gives a model-listed example: it uses a center straight stitch and positions the foot on the appropriate side of the needle. Its exact stitch selection must not be copied to a different machine. Piping thickness and zipper construction can change clearance even when the foot is correct.
Follow the closure maker’s instructions#
Some zipper constructions have handling limits that a sewing-machine guide cannot replace. For example, YKK says to sew outside the yellow line and not on the plastic part of its 3CF open-end zipper. For its 2CH CONCEAL zipper, it says to sew outside the tape folding line. Identify the zipper type and follow its current product directions; do not apply one construction’s boundary to every zipper.
No single foot, needle position, or stitch setting covers every closure. Recheck the actual materials at the thickest point, and stop if the machine does not feed or clear the setup without force.
Hook-and-loop tape has a different product and needle check. For a bounded machine example, see sewing sew-on tape on a Brother CS7000X.