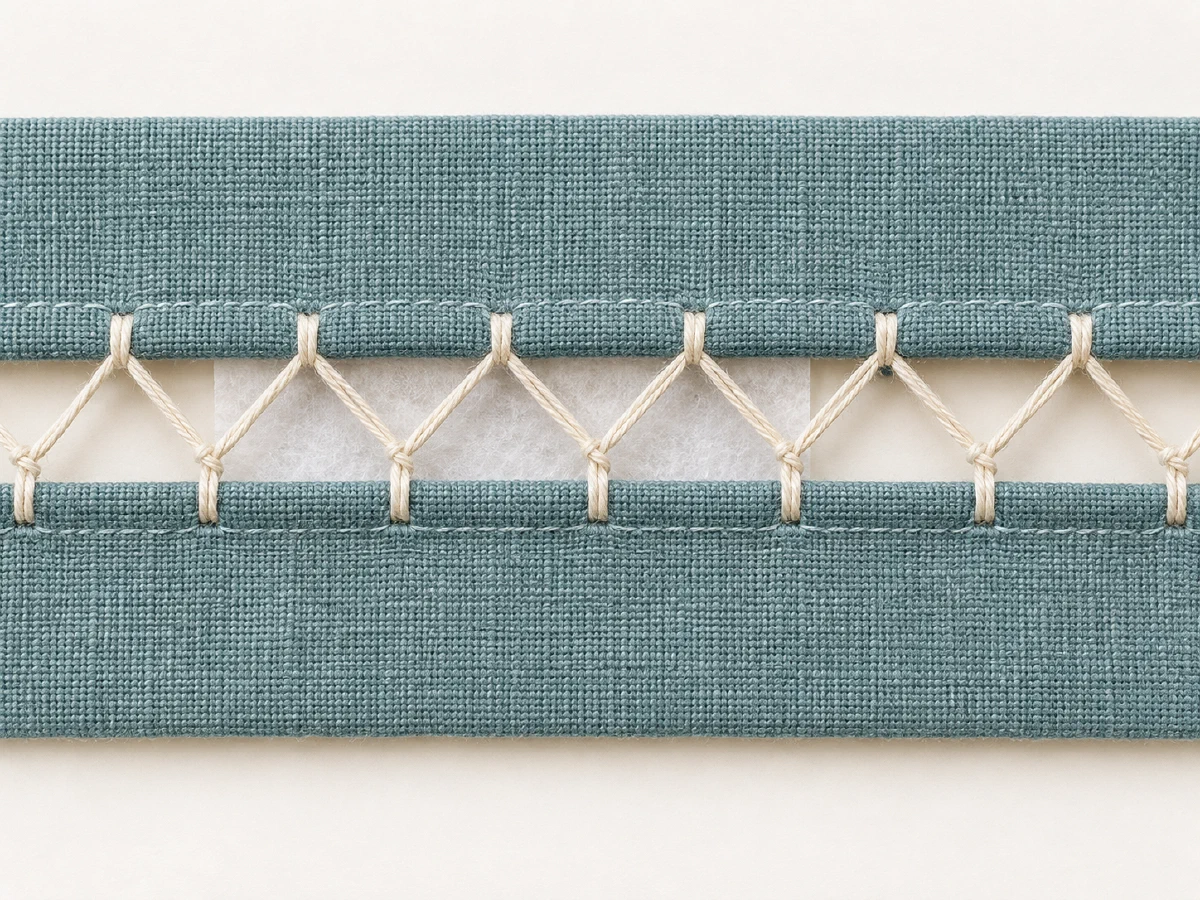
Fagoting joins two folded fabric edges with visible stitches across an open gap. It creates a decorative openwork join, not an ordinary enclosed seam. Brother’s U.S. CS7000X Sewing Guide and Stitch Chart provide a model-specific example.
Check the CS7000X chart entry#
The 70-stitch column lists fagoting as stitch 18 with presser foot J. Brother’s guide uses the same 70-stitch model context. The chart prints an automatic width of 5.0 mm and length of 2.5 mm, with ranges of 2.5–7 mm wide and 1–4 mm long. The guide’s fagoting example uses a 7 mm width; treat that as a task-specific source setting, not a default for every openwork seam. Do not borrow a neighboring chart column’s stitch number.
Fold and press both edges evenly, then baste or otherwise hold them in position over a temporary paper support or a compatible removable stabilizer as the guide directs. Keep the planned gap even along the join. Follow the guide’s fold and spacing example, and test on the actual cloth before sewing the garment or finished piece.
Sew and inspect the sample#
Install foot J and confirm that stitch 18 is permitted for that foot in the CS7000X chart. Turn the handwheel to verify needle clearance before powered sewing. Sew slowly enough to keep both folded edges aligned and the stitches bridging the gap. Remove any temporary paper or support using the method appropriate to that material.
Inspect both sides. Check that the stitches catch each fold, the gap remains open, and the fabric is not pulled together or damaged. The open join is decorative; do not use it where the garment needs a conventional load-bearing seam unless a separate design and test establish that use. If the needle contacts the foot or plate, stop and recheck the chart and setup.
See the shell-tuck guide for another CS7000X decorative stitch task.