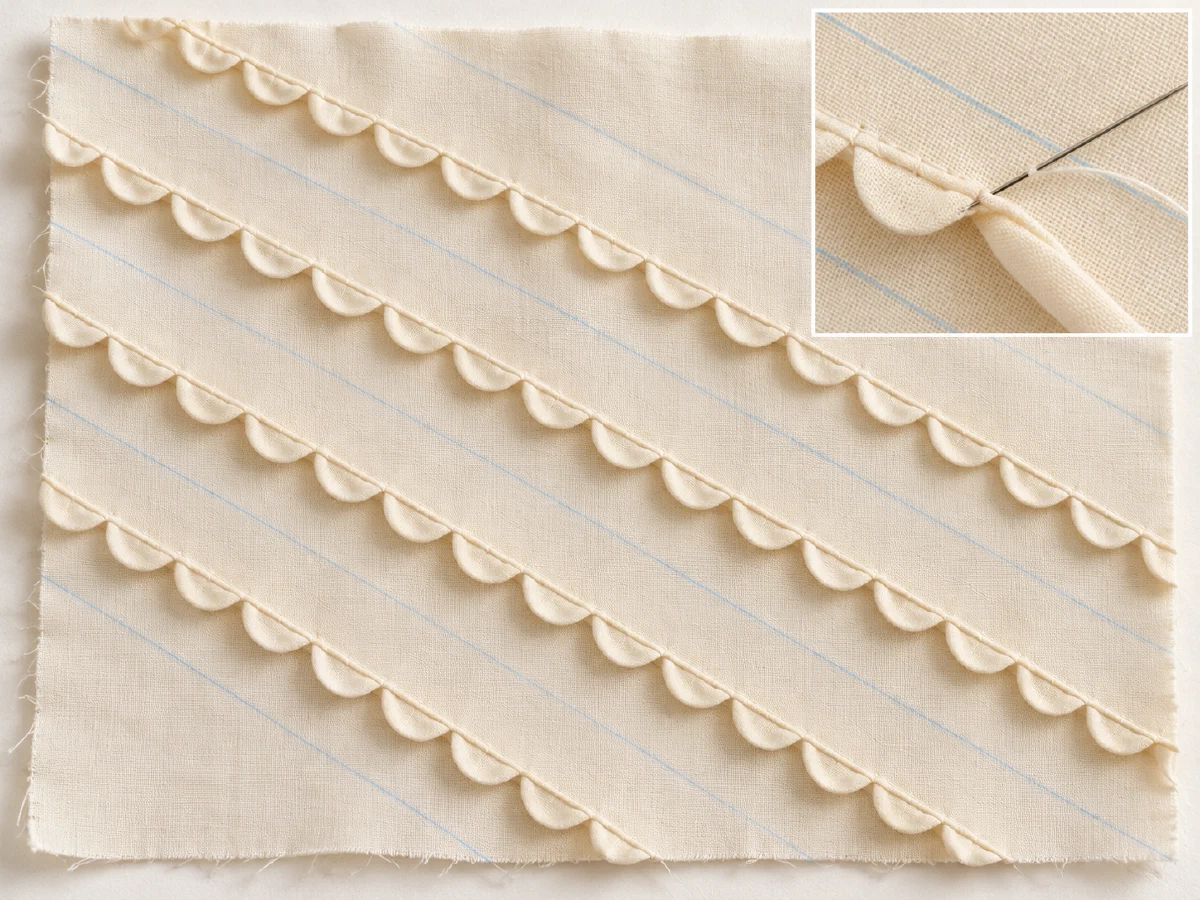
A shell tuck is a decorative fold stitched close to its edge so the seam forms a repeated scalloped ridge. Brother’s U.S. CS7000X guide describes this task for thin fabric. The exact fold, stitch, and material matter; this is not a general pintuck setting.
Use the CS7000X model column#
In the 70-stitch column, the chart lists shell tuck as stitch 12 with presser foot J. Its automatic width is 4.0 mm and length 2.5 mm. Those are the chart’s printed automatic values, not a guarantee that every lightweight fabric will form the same shell.
Brother’s guide directs the sewist to mark evenly spaced lines on the bias, fold along one line, and sew the fold with the needle dropping slightly beyond its edge. It also calls for increased upper tension for this decorative technique but gives no universal tension value. Do not infer exact spacing or tension from the sample illustration.
Sew one fold at a time#
Test on the same fabric before marking the project. Install foot J and select stitch 12, checking the chart and handwheel clearance before sewing. Stitch one folded line at a time, keeping the fold aligned and the cloth flat. Open the fold after stitching and press as the guide directs before moving to the next line.
Inspect the sample for a clear shell shape, skipped stitches, puckering, and needle clearance. If the ridge looks flat or the cloth is drawn up, adjust only after checking the manual and making another sample. Stop if the needle approaches the foot or plate. The CS7000X chart and guide are for this named U.S. model; do not transfer the number or foot to another machine.
For an open decorative join, see CS7000X fagoting. To finish an edge with scallops and then trim it, see satin scallop stitching.