Brother’s U.S. CS7000X Sewing Guide describes stitching a scalloped edge and trimming the excess fabric afterward. The order matters: sew the satin scallops first, then cut outside the stitches without nicking the thread.
Confirm stitch and foot#
The CS7000X’s 70-stitch chart column lists satin scallop as stitch 13 with presser foot N. The chart’s automatic width is 5.0 mm and length 0.5 mm, with listed adjustment ranges. These values identify the machine’s chart entry; they do not promise a specific scallop size on every fabric. Follow the model-linked guide for its procedure and the chart for the selected foot and stitch.
Before sewing, test the same fabric and edge shape. Check whether the cloth needs support and make sure the needle clears foot N through its full swing. The guide cautions against sewing directly on the fabric’s edge. Keep the stitch line inside the cloth so the thread can remain intact after trimming.
Trim without cutting the thread#
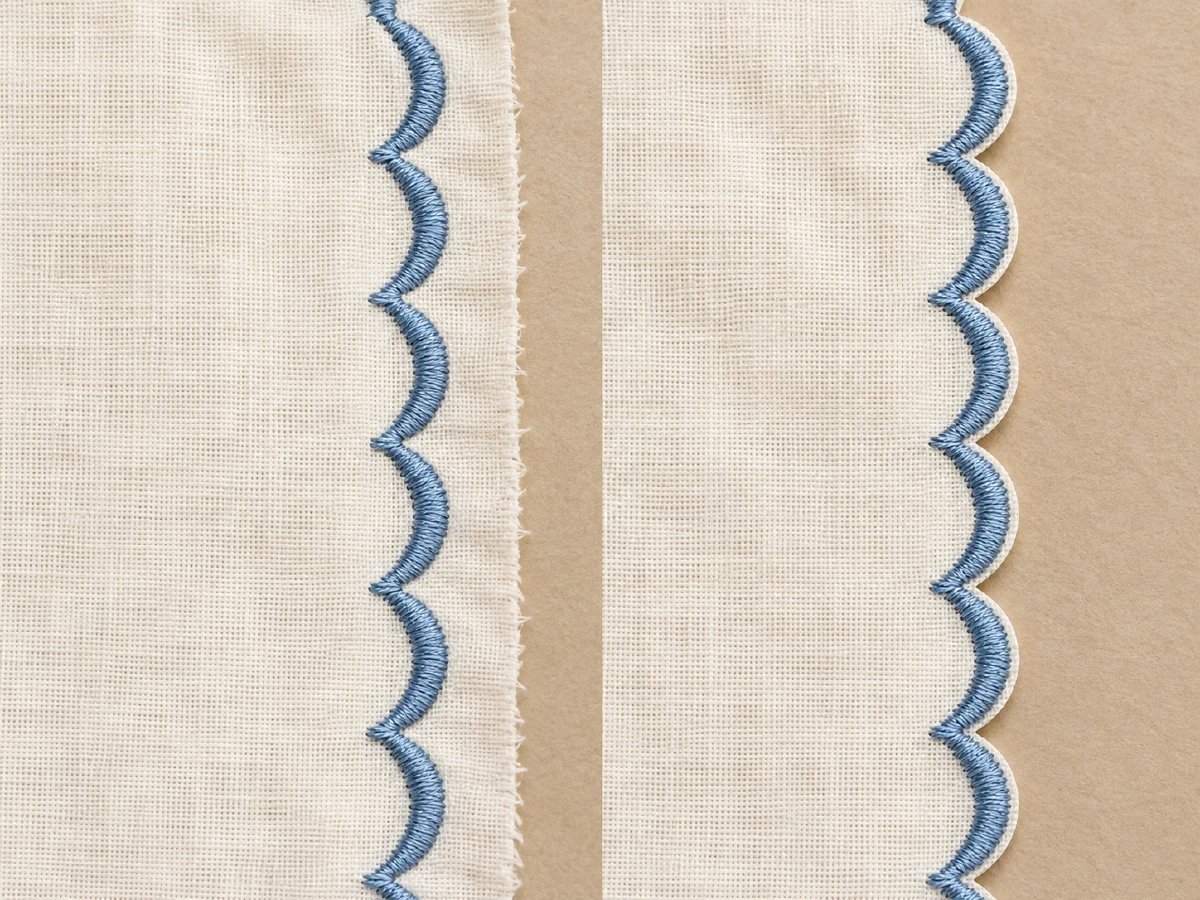
Sew the complete scallop line first. Remove the sample and inspect the stitch formation before trimming. With small sharp scissors, cut the excess fabric along the scalloped outline while leaving the stitching uncut. Work slowly around each curve; if a stitch is clipped or sits too close to the cut edge, repeat the sample with a better placement before sewing the project.
Do not use this decorative edge as a substitute for a task-specific seam or overcasting finish. The pictured trim is illustrative, not a tested CS7000X result. If the needle strikes the foot or the fabric bunches, stop and recheck the machine’s guide and chart.
For the related folded-ridge technique, see CS7000X shell tucks; for raw-edge overcasting, see the CS7000X overcasting setup.